Accueil Techniques d'Installation
Techniques d'Installation
Guide complet d’installation de clôture résidentielle
Guide pour planifier, estimer et superviser l'installation complète d'une clôture résidentielle, choisir les matériaux, utiliser des calculateurs en ligne et vé
Laura Dufresne 8 min de lecture

This guide explains how homeowners can plan, estimate, and supervise a complete residential fence installation, from choosing materials to using online calculators and preparing for inspections. Use the linked manufacturer and calculator resources for precise quantities and to verify local rules before hiring a contractor or starting work.
- Why this guide and how to use it
- Choose the right material
- Regulation, permits, and property lines
- Plan the layout and check site access
- Calculate materials and tools
- Step-by-step installation
- Maintenance and expected longevity
- Common problems and prevention
- Estimate cost: method, not numbers
- Recommended tools and resources
- FAQ
Why this guide and how to use it
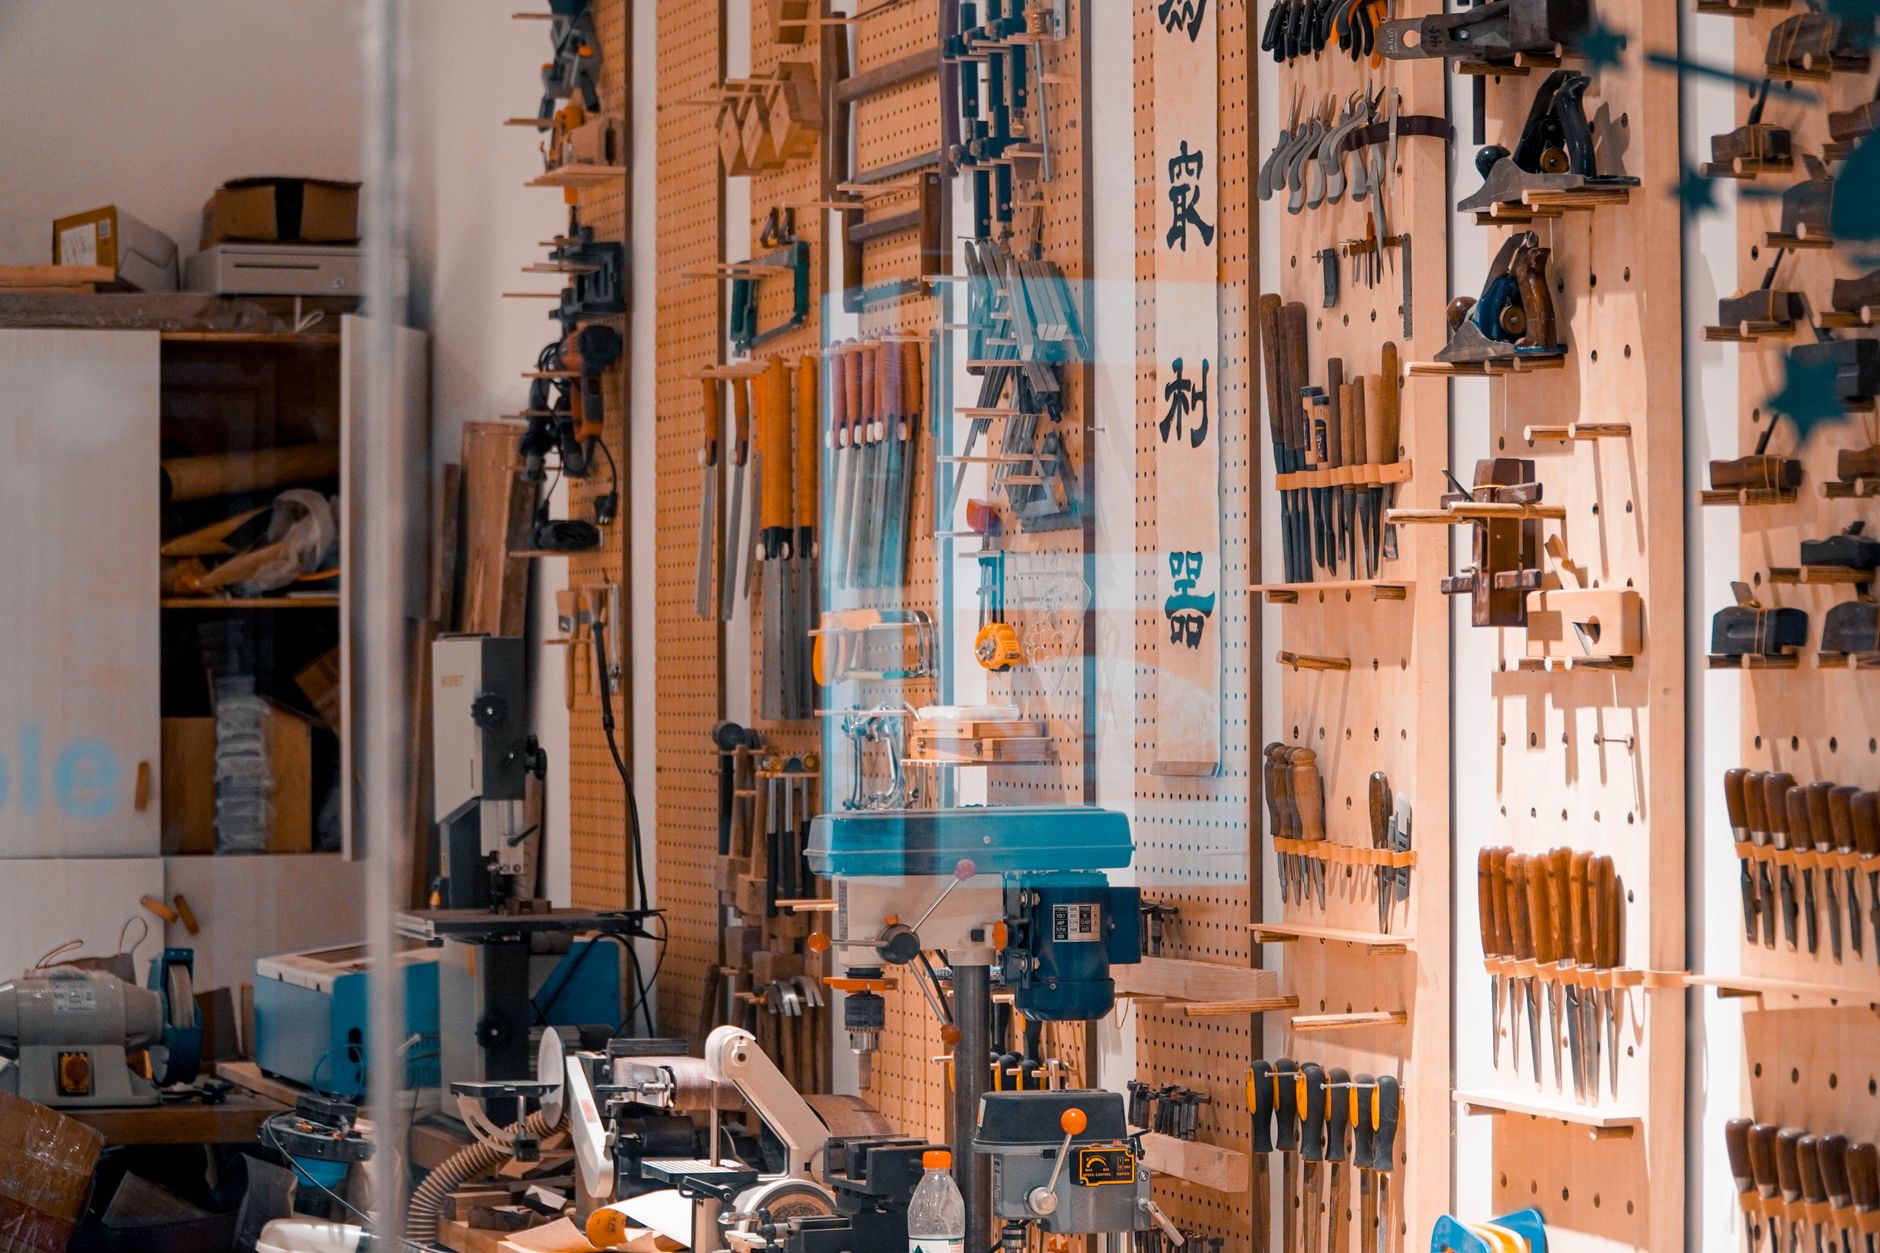
This guide helps owners plan a fence project, check regulatory constraints, calculate material needs, and follow a practical installation sequence. It is aimed at homeowners who want to understand the process well enough to manage a DIY build or to vet contractor bids.
Read sections in order if you are starting from zero. Use the “calculate materials” section with the linked online calculators to get quantities tailored to your property. Print the final checklist and the “questions to ask” box before calling a contractor or ordering materials.
Disclaimer: this guide informs and compares. For local code interpretation, permits, and final decisions, consult your municipal building department, HOA, or a licensed professional.
Choose the right material for your project
Common residential fence materials include wood, vinyl/PVC, aluminum, chain link, and composite. Each material has trade-offs in appearance, maintenance, and durability. Comparative resources list advantages and disadvantages and note that vinyl and aluminum generally require less maintenance than wood; consult a materials comparison for details (Fence Contractor Pros, consulted 04/09/2026; MeasureFence, consulted 04/09/2026).
Key criteria when choosing:
– Aesthetic and neighborhood context.
– Required privacy or visibility.
– Maintenance tolerance (paint/stain cycles for wood versus occasional cleaning for vinyl).
– Local regulations (pool barriers, sight lines at driveways).
Link the material choice to your long-term plan: a low-maintenance siding or rental property favors vinyl or aluminum, while a homeowner seeking a traditional look may prefer wood but should factor in ongoing upkeep.
When a specialized ornamental appearance or engineered performance is needed (for example, an architectural aluminum fence), consider involving a contractor who regularly works with that material.
Regulation, permits, and property limits
Regulations vary by city, county, and homeowners association. Typical steps: check municipal zoning or building department rules, review HOA covenants if applicable, and confirm property lines and easements before any excavation or placement.
Pool barriers are regulated separately in many jurisdictions. Model codes and guidance commonly reference a minimum barrier height around 48 in (1.2 m) as a model requirement; always verify the precise requirement with local code officials (Pool fence (model rules), consulted 04/09/2026).
Before work begins, prepare a concise list of questions to ask the local permitting office: permitted fence heights in front and side yards, setback requirements, and any required inspections. Use the checklist in this guide when calling the county building department or HOA.
Plan the layout and check site access
Accurate layout and site assessment prevents rework. Start by locating corner points, gates, and transitions. Flag the intended line, mark angles and gate locations, and decide whether the fence will “step” across slope level-by-level or “rake” to follow grade.
Assess site access for material delivery and storage. Identify potential obstacles like HVAC units, trees, irrigation heads, and known buried utilities. Call the national utility notification service before digging; follow the local “Call Before You Dig” process (811) to request utility location if available in your area.
On a sloped yard, choose a consistent method for panel transitions and record the approach on the layout plan to avoid mismatched panel heights or gaps. Consider protective measures for landscaping and a safe storage area for delivered panels and posts.
Calculate materials and tools
Follow a step method: measure total linear feet, choose post spacing for your material, compute number of posts as sections+1 accounting for end, corner, and gate posts, then estimate panels or pickets and hardware. For concrete, use a post-hole volume calculation to get bag counts.
Use the listed online calculators to translate linear measurements into materials: BuildRefs (BuildRefs fence calculator, consulted 04/09/2026), MaterialSmith (MaterialSmith, consulted 04/09/2026), MeasureIt (MeasureIt fence calculator, consulted 04/09/2026), and Calcipedia (Calcipedia, consulted 04/09/2026). These tools are third-party resources; follow their input rules carefully and provide accurate spacing and gate counts for correct outputs.
Example methodology steps to feed into a calculator:
– Total linear length.
– Chosen post spacing (use manufacturer guidelines or the calculator default).
– Number and width of gates.
– Post-hole diameter and depth for concrete volume estimates (refer to manufacturer how-to guides for recommended hole sizing).
Step-by-step installation (chronology)
Typical work phases:
– Preparation and permitting: acquire permits, mark layout, notify utilities.
– Marking and digging post holes: establish reference line and hole locations.
– Setting posts: secure posts by concrete or gravel backfill following supplier instructions; manufacturers and retail guides describe methods for drainage and slope handling (Lowe’s installation guide, consulted 04/09/2026; Home Depot how-to, consulted 04/09/2026).
– Attaching rails and panels: level and plumb each section before fastening.
– Installing gates and hardware: check clearances and ensure square alignment.
– Final treatments: apply wood preservative or paint if required, adjust latch and hinge settings.
Supplier guides include practical notes such as sloping concrete away from the post base and options for gravel drainage versus full concrete encasement. Refer to the manufacturer or retailer installation PDFs for product-specific instructions.
Maintenance and longevity by material
Maintenance varies by material. Wood typically needs periodic staining or painting and inspection for rot or insect damage. Vinyl requires cleaning to remove mildew or dirt. Metal components need rust prevention and inspection of surface coatings. Composite combines lower maintenance with occasional cleaning.
Consult comparative lifespan discussions and maintenance checklists in the linked resources (Fence Lifespan Comparison, consulted 04/09/2026; Fence Contractor Pros, consulted 04/09/2026) to set an inspection cadence and a seasonal maintenance routine.
Common problems and how to avoid them
Frequent failures include leaning posts (insufficient backfill or improper compaction), panels that warp or bulge (poor anchoring or water exposure), and wood decay from ground contact. Prevent issues by following proper post-setting techniques, using appropriate fasteners and finishes, and keeping drainage clear at post bases.
For mechanical or structural failures—such as a gate that drags or a post that has moved—assess whether the repair is straightforward (re-set a post or tighten fasteners) or whether a licensed professional is required, especially if the fence supports motors or heavy masonry attachments.
Estimate the cost: method without inventing numbers
This guide does not provide dollar amounts. To estimate cost, gather material quantities from calculators, request line-item estimates from multiple contractors, and compare quotes strictly on identical scopes: materials, labor, site prep, disposal, permits, and gate hardware. Use this checklist of cost items when evaluating bids.
Questions to ask an estimator: what is included in the material line, is the labor per linear foot or per day, how is site prep charged, are permits included, and what warranty covers workmanship and materials. Keep a written comparison table to avoid apples-to-oranges bids.
Tools, calculators, and manufacturer guides
Recommended links for quantities and installation guidance:
– BuildRefs fence calculator: https://buildrefs.com/calculators/framing-structure/fence-material/ (consulted 04/09/2026)
– MaterialSmith fence calculator: https://materialsmith.com/fence-calculator/ (consulted 04/09/2026)
– MeasureIt fence calculator: https://measureit.net/fence/calculator/ (consulted 04/09/2026)
– Calcipedia fence calculator: https://calcipedia.org/calculators/fence-calculator/ (consulted 04/09/2026)
– Home Depot installation how-to PDF: https://www.homedepot.com/catalog/pdfImages/2b/2b52026f-c093-42bf-9f6a-70125197ccdc.pdf (consulted 04/09/2026)
– Lowe’s installation guide PDF: https://pdf.lowes.com/installationguides/090489877156_install.pdf (consulted 04/09/2026)
FAQ
Q: What height is appropriate for a garden fence?
A: Heights depend on local rules and purpose; consult the regulation section and local code officials. See the pool barrier reference for model guidance (Pool fence, consulted 04/09/2026).
Q: How long does installation take?
A: Installation time varies widely by site, permits, and crew; do not rely on a single duration estimate. Use the planning and contractor-questions sections to scope time with potential installers.
Q: Do I need a permit?
A: Permitting depends on local zoning and HOA rules. Contact your municipal building department and present the checklist of questions in the permits section.
Q: How to estimate concrete for post holes?
A: Use a post-hole volume calculator and the retailer how-to sheets to convert hole dimensions into bag counts. Calcipedia and retailer guides listed above provide calculators and examples.
What we do not know
- Average costs per linear foot for any material are not provided here; no price figures are published without dated sources.
- Typical installation duration in days for all projects is not stated; timelines vary by site and permit process.
- A universal post depth for all climates or frost zones is not given; depth depends on local frost line and soil conditions.
- Data from the site DATA-BANK.md is absent and not used in this guide.
Printable checklist: verify property lines, check HOA and permit rules, call utility-locate service, measure total linear feet, run at least two calculators for quantities, request three written quotes, confirm scope and permit responsibility before signing, and plan a seasonal maintenance schedule based on chosen material.

Rédactrice · clôtures, portails, aménagements extérieurs
Laura couvre les tendances et innovations en matière de clôtures et portails de jardin. Elle prend soin de vérifier les informations en consultant des sources fiables et en croisant plusieurs avis avant de publier.
Les questions traitées dans cette fiche
Dans la même zone : Techniques d'Installation
9 étapes7 min de lecture
Techniques d'Installation
10 étapes6 min de lecture
Techniques d'Installation
10 étapes8 min de lecture
Techniques d'Installation

9 étapes8 min de lecture
Techniques d'Installation