Accueil Entretien et Réparations
Entretien et Réparations
Réparer une clôture en bois attaquée par pourriture
Diagnostiquez où et à quelle profondeur la pourriture (bande de 6–12 pouces au sol). Réparez localement à l'époxy si le bois est sec et sain autour, ou remplace
Marc Belin 8 min de lecture
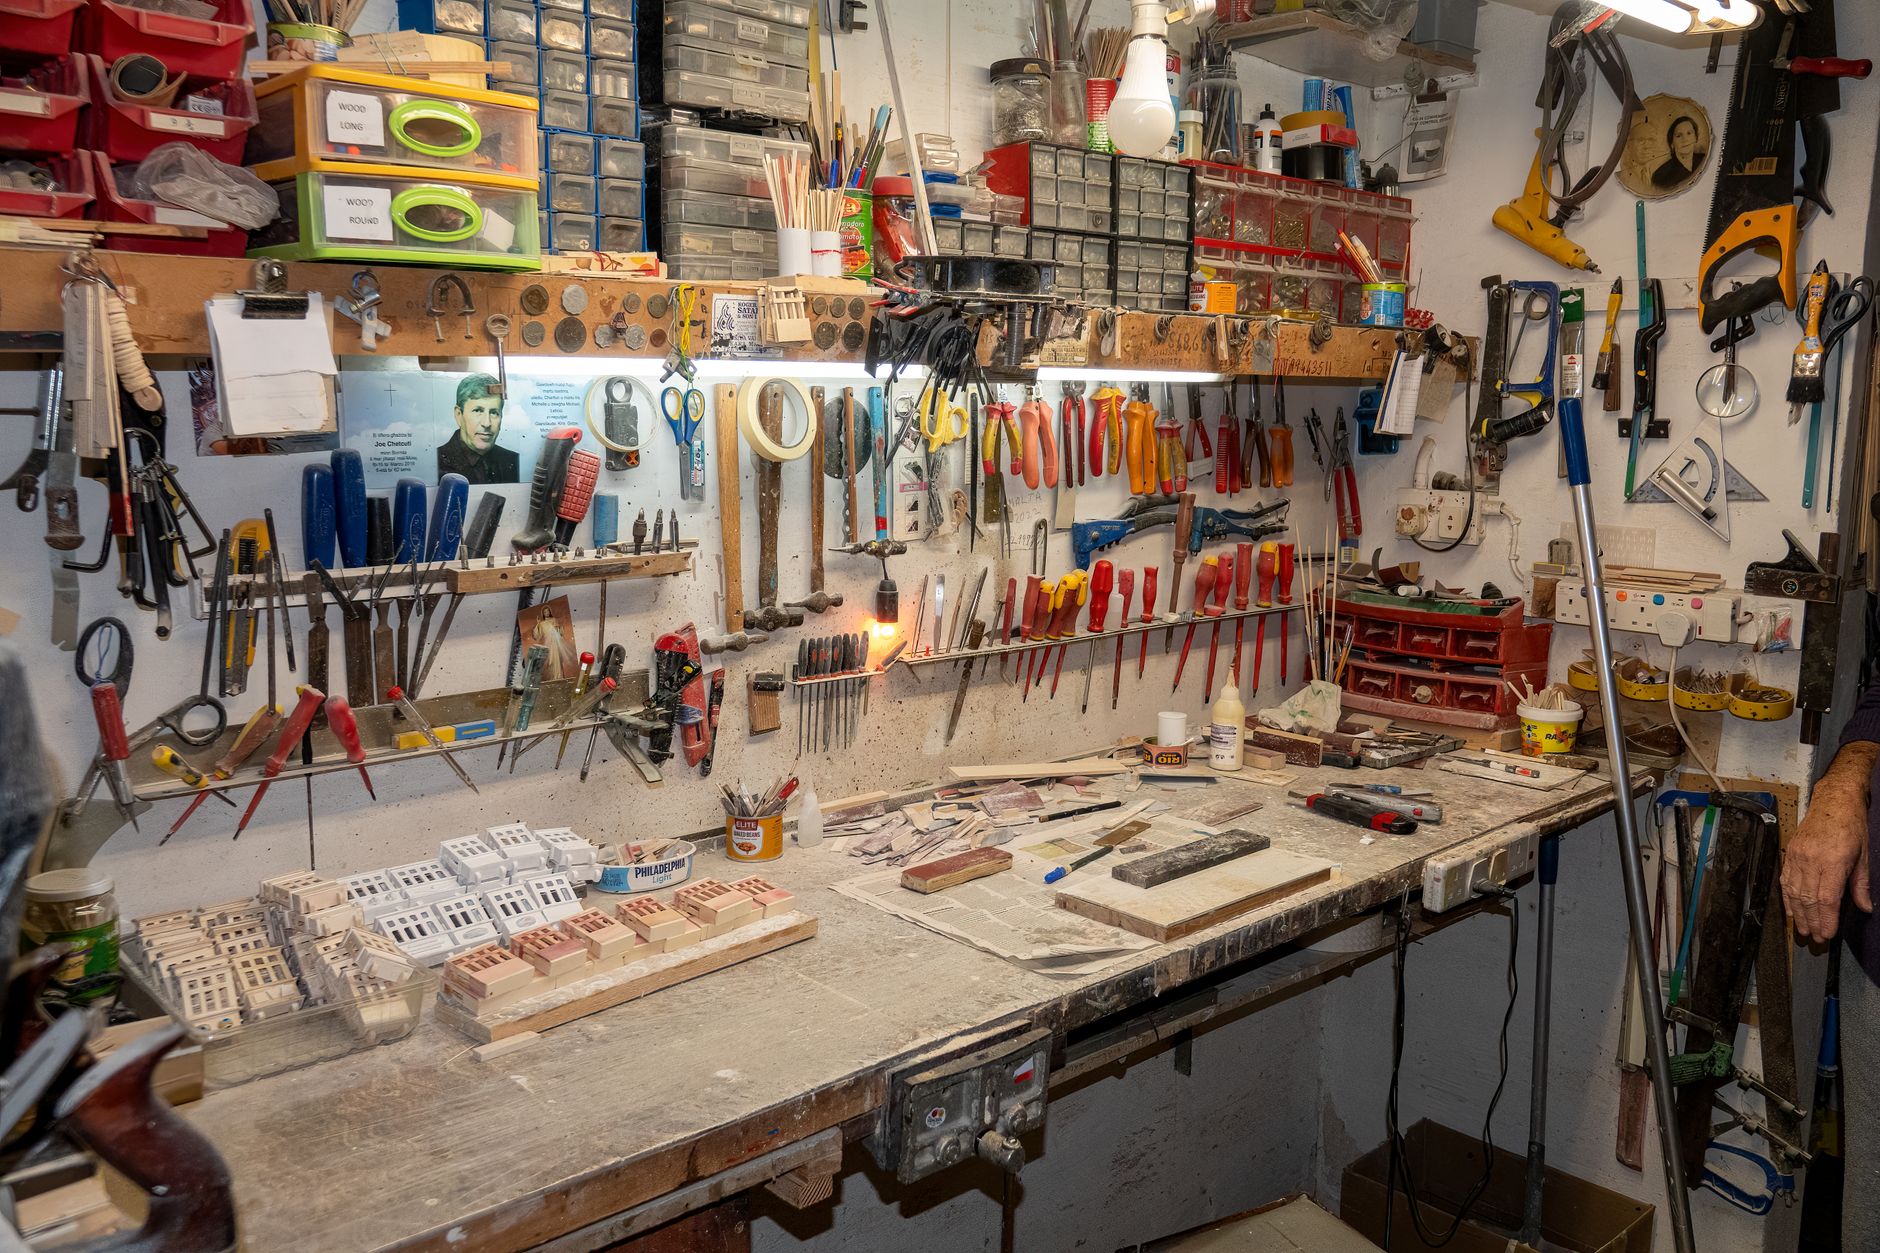
Quick answer: diagnose where the rot sits and how deep it is, then choose repair (epoxy/patch) when decay is localized and surrounding wood is sound, or replace the structural element (post, rail, panel) when the timber or its load-bearing function is compromised. See diagnostic anchors and step-by-step options below.
How to diagnose rot in a wood fence
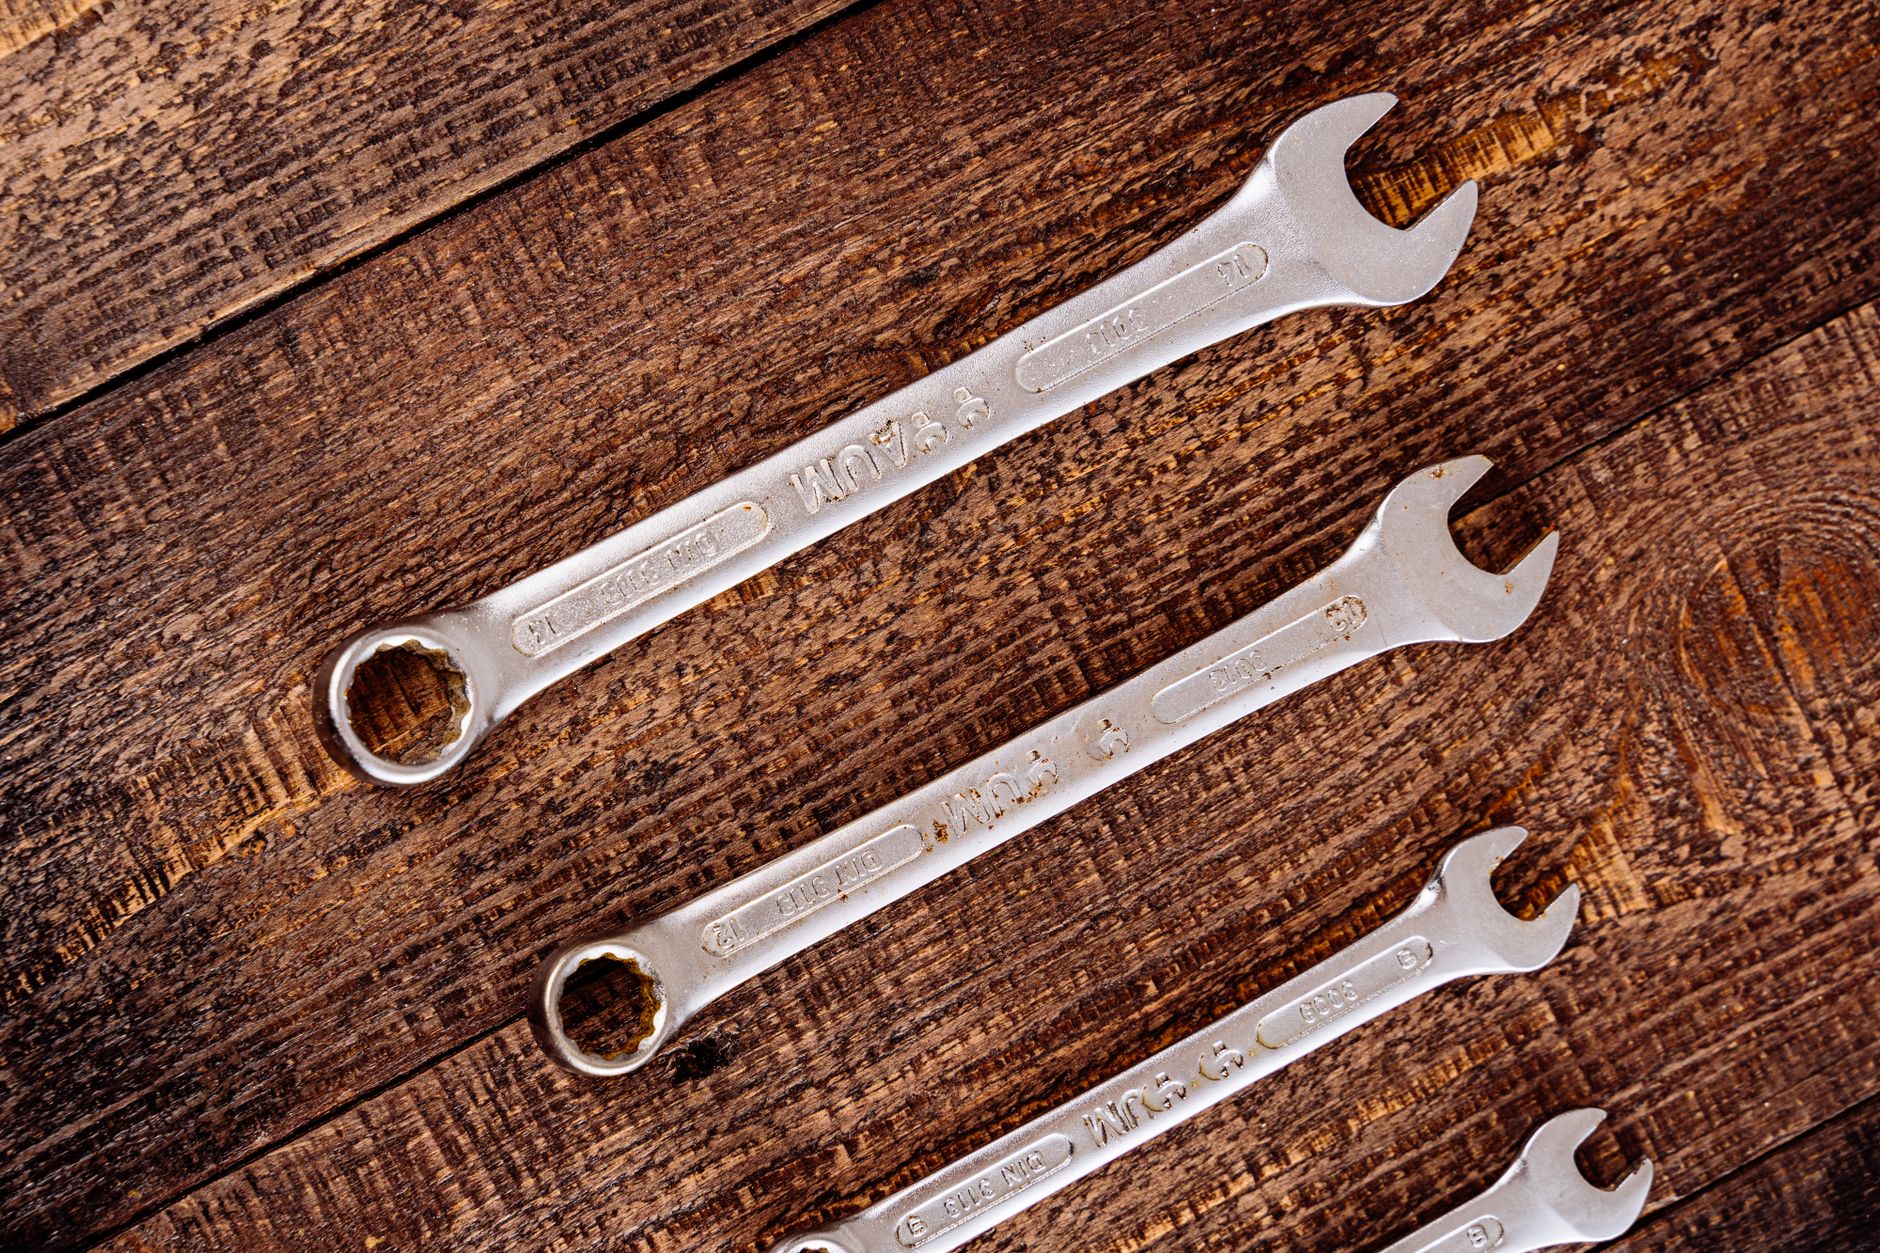
Look for visual signs first: blackened or discolored wood, flaking or powdery fibers, and areas that crumble when probed. A simple tactile test is telling: press a screwdriver or awl into the suspect area. If the tool sinks into the wood or the surface flakes away, the section is likely soft rot rather than surface stain. This aligns with guidance used by field restorers and DIY references such as This Old House and EngineerFix.
Check the typical “rot zone” near the ground. Multiple guides note rot often starts in the band at and just below grade; several sources report this is commonly within the 6–12 inch band above and below the soil line. Inspect both sides of posts and rails at that elevation, and follow the wood up and down a foot or more to locate the transition from soft to sound wood (EngineerFix).
Measure moisture before you plan a repair. Specialists recommend confirming the wood is sufficiently dry before applying consolidants or epoxy. This Old House documents the need to check moisture content and allow drying when necessary, because epoxies and fillers bond poorly to damp wood.
Assess function, not just appearance. If a post leans, the fence moves when nudged, or a rail is broken, the structural role is affected. Sources including The Home Depot and HGTV list those signs as triggers to consider replacement rather than patching.
Option A — Repair localized rot (patches, consolidants, epoxy)
When to choose repair: select this path when decay is limited to a small area and solid wood surrounds the damaged cavity. This Old House and Fine Homebuilding describe epoxy and wood-fill strategies as appropriate for localized rot when the surrounding timber still provides structural integrity.
Step 1 — remove the soft material. Excavate the rotted wood down to sound, dry timber using chisels, a carving knife, or a small grinder with care. Field guides emphasize removing all friable material so the consolidant and epoxy contact stable fibers (This Old House; Old House Journal).
Step 2 — treat the cavity. Apply a borate solution to the cleaned area if recommended by the product instructions. This Old House cites borate as a preventive treatment to deter fungal activity before sealing.
Step 3 — confirm dryness. Use a moisture meter or allow time for the wood to dry before bonding. This Old House stresses that many epoxy procedures require a dry substrate; some published workflows call for waiting until moisture readings meet the adhesive manufacturer’s recommendations.
Step 4 — consolidate and fill. Apply a wood consolidant or epoxy bonding agent, then fill with a two-component epoxy or polyester wood filler. Fine Homebuilding explains the role of consolidants and the sequence of bonding agent then filler for durable adhesion. After curing, shape and sand the repair to match the profile.
Alternative: a “dutchman” or wood patch. When geometry allows, cut out the damaged section and fit a solid wood patch glued and fastened into place. Fine Homebuilding notes that a solid wood patch restores mechanical strength better than filler alone when feasible.
Finish: seal the repair. Paint, stain, or seal the repaired area to reduce water exposure. The Washington Post and other practical guides recommend surface protection after repair to limit recurrence. Durability depends on execution and local exposure; no generalized lifetime claim is provided here.
Limits: patch repairs conserve existing material and often cost less upfront, but they rely on correct moisture control and workmanship. If decay extends into the core of a post or affects the structural assembly, a replacement is the safer option (This Old House; Fine Homebuilding).
Option B — Replace the damaged element (post, rail, panel)
When to replace: replace posts or rails when the member is structurally compromised, when the rot extends through a large portion of the element, or when extraction and replacement are more reliable than layered repair. The Home Depot guidance lists post replacement among common fence repairs for structurally affected members.
Replacing a post — classic method
Classic replacement involves removing the old post, clearing the hole or concrete footing, and installing a new treated post set to proper backing and alignment. The Home Depot installation materials and PDFs describe the typical sequence: extract, prepare the hole, place a new post, and backfill or set in concrete according to the chosen anchoring method.
Post repair kits and “no-dig” options
For many 4×4 and 6×6 posts, commercial post-repair kits exist that allow bracing or sleeve-type replacement without full excavation. Product pages and retail listings (example: Post Doctor listing) show designs that transfer load and avoid full re-digging in some situations. These kits can be a practical choice when the footing and surrounding soil conditions permit.
Extraction techniques and tools
Removing a post sealed in concrete may require progressive cutting, mechanical leverage, a jack or hoist, and sometimes rented power tools such as a breaker or auger. The Home Depot materials and installation PDFs discuss tool rental options and common extraction workflows. When access is tight (neighboring property, pavement, or slab), plan for constrained operations and consider specialist help if extraction appears beyond available tools or skill.
Replacing rails or panels follows removal of fasteners and re-attachment of new members. Check alignment and level during reassembly and use material rated for ground contact where appropriate (HowToBuildFence; HGTV).
Prevention — steps to reduce future rot
Seal cut ends, elevate wood off direct soil contact where possible, and ensure good drainage and airflow around the fence base. The Home Depot and EngineerFix recommend limiting direct ground-to-wood contact and maintaining drainage to lower exposure to moisture.
Choose treated lumber for posts and bottoms of rails or consider alternative materials such as metal posts where compatibility and design permit. Manufacturer guidance and retailer installation notes provide compatibility details for material choices.
Regular inspection of the rot zone and addressing persistent wetting or poor drainage at the base of the fence will reduce recurrence risk. Practical maintenance is product- and site-specific; consult product instructions for treatment intervals rather than applying a fixed schedule without reference.
Access issues, boundary constraints, and special cases
Pavers, concrete footings, or restricted neighbor-side access change the approach. If a post sits in a slab or is within a concrete footing, extraction can require cutting and heavier tools. The Home Depot PDFs and community reports describe those scenarios and tool options.
For shared fences, check local ordinances and neighborly agreements before removing or replacing boundary elements. This article does not provide legal advice; consult local building authorities or a qualified local resource for code and permit questions.
Hybrid fences that combine metal and wood need attention to metal corrosion and compatible fasteners. Use corrosion-resistant connectors and review manufacturer guidance for mixed-material installations (Southland Fence documentation and retailer guides).
Tools, products, and safety
Common tools for repair and replacement include chisels, grinders or rotary tools, sanders, drills, and augers or post-hole tools when digging is needed. For heavier extraction, jacks, hoists, and breaker tools may be required; rental is an option described in Home Depot guidance.
Product categories referenced in procedural sources are: two-component epoxy fillers, consolidants, borate preservatives, and post-repair sleeve kits. This text avoids specific product endorsements beyond categories; consult manufacturer literature and the listed product pages for selection and safety instructions.
Safety: wear eye protection and gloves, use respirators or ensure ventilation when working with epoxy, and call local utility-locate services before digging. Retail and installation guides highlight these precautions.
When to call a professional
Consider a pro when multiple posts are failing, when load-bearing posts are compromised across a run, when mechanical extraction seems required, when site access is limited, or when there is doubt about property lines and ownership responsibility. This page functions as an informational guide and does not act as a service provider directory.
Prepare questions for any contractor: scope of work, materials to be used, whether permits or utility locates are included, and what type of site protection and cleanup are provided. Asking about insurance and written scope helps compare proposals.
Sources and further reading
- This Old House — “How To Fix Rotted Wood With Epoxy”
- The Home Depot — “Repairing a Fence” guide
- The Home Depot — product “Post Doctor” page
- The Home Depot — Fence Post Repair Kit installation PDF
- Fine Homebuilding — “Deciding on wood fillers”
- Washington Post — “How to repair rotten interior wood”
- EngineerFix — “How to fix a rotting fence and prevent future decay”
- HowToBuildFence — “Rotten Fence Post Replacement”
- HGTV — “How to Fix a Fence Post That Is Leaning”
- Old House Journal / USModernist — technical articles on consolidation and epoxy
- Reddit DIY — community posts and field experience examples
Box — What is not known from available sources
The following items lack reliable, general sources and are therefore not asserted here: specific guaranteed lifespan for an epoxy repair on an exterior fence; a national average cost per post or per repair unless a dated, authoritative source is cited; a percentage comparison of epoxy repairs versus full replacements; fixed maintenance intervals for all products without consulting the manufacturer; and precise local code or permit requirements. These points require project-specific data or local authority confirmation and are not provided as general statements in this guide.

Rédacteur spécialisé · matériaux, sécurité, design extérieur
Marc explore les différents matériaux et designs pour les portails et clôtures. Passionné par l'aménagement extérieur, il fait ses recherches minutieusement pour assurer la véracité de ses articles.
Les questions traitées dans cette fiche
Dans la même zone : Entretien et Réparations
4 étapes3 min de lecture
Entretien et Réparations
4 étapes3 min de lecture
Entretien et Réparations

4 étapes3 min de lecture
Entretien et Réparations
3 étapes3 min de lecture
Entretien et Réparations